Using the AWS Console to configure ProsperOps access on Member Accounts
This article assumes you are configuring ProsperOps access and have already updated your AWS Management Account permissions in the ProsperOps Console.
Configuring access to AWS Member accounts is the final step in setting up ProsperOps permissions. In order to have real-time visibility into all compute usage, ProsperOps requires a permission on every AWS account in the Organization.**
- Open a new browser tab, navigate to the AWS Console, and log in to the Member Account for which ProsperOps access is being configured.
- Return to the ProsperOps Console and click the Create IAM Role button.
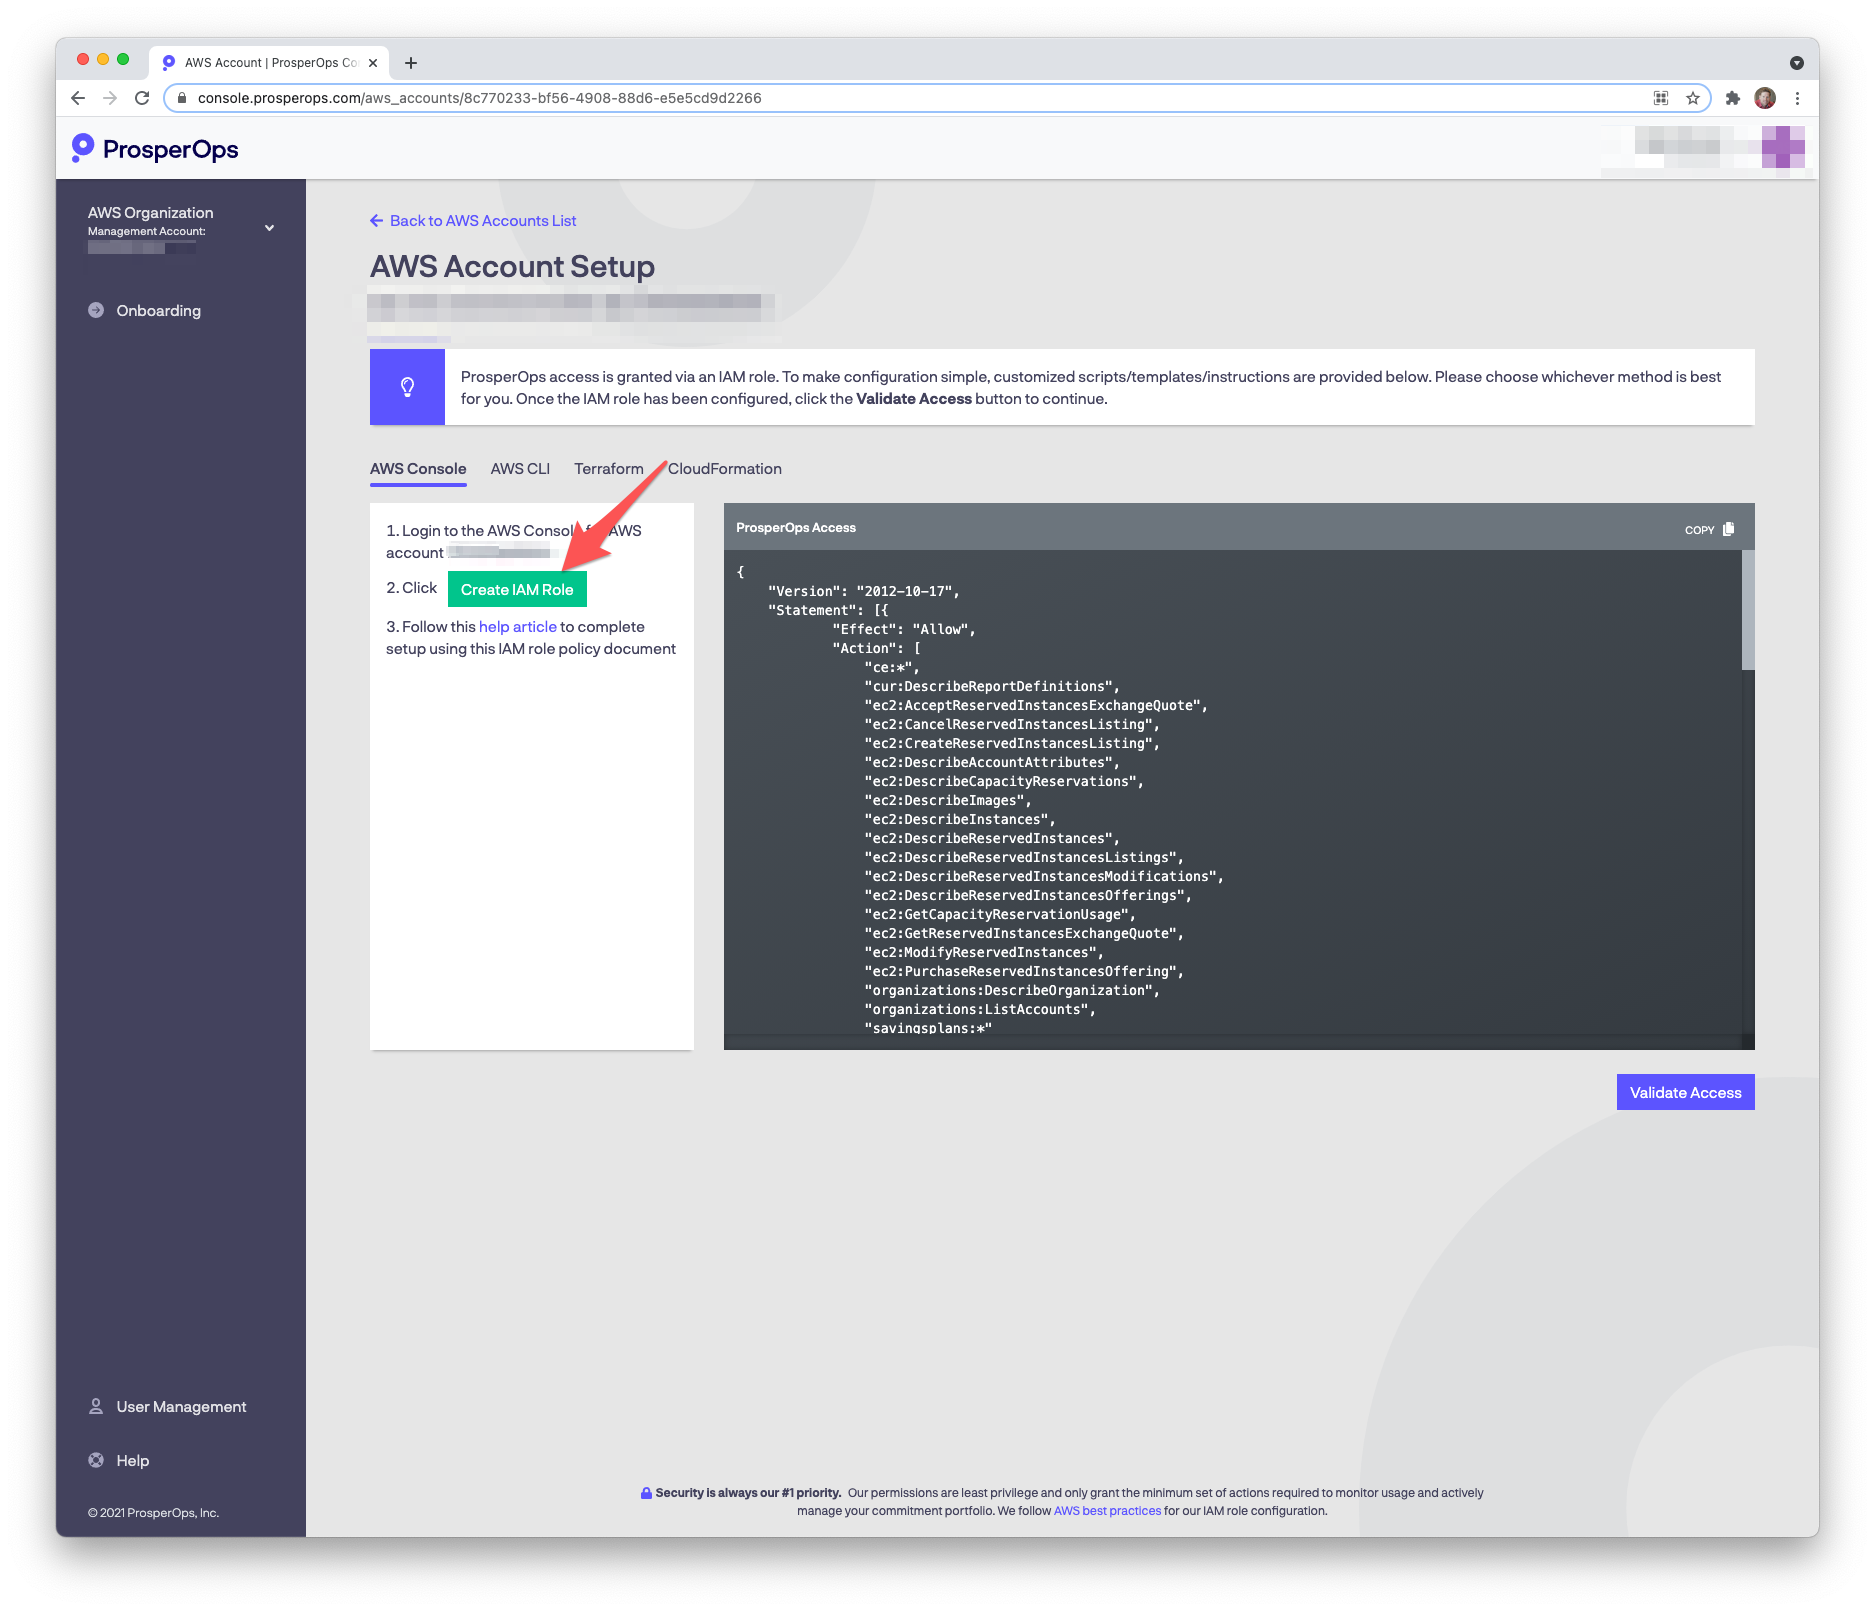
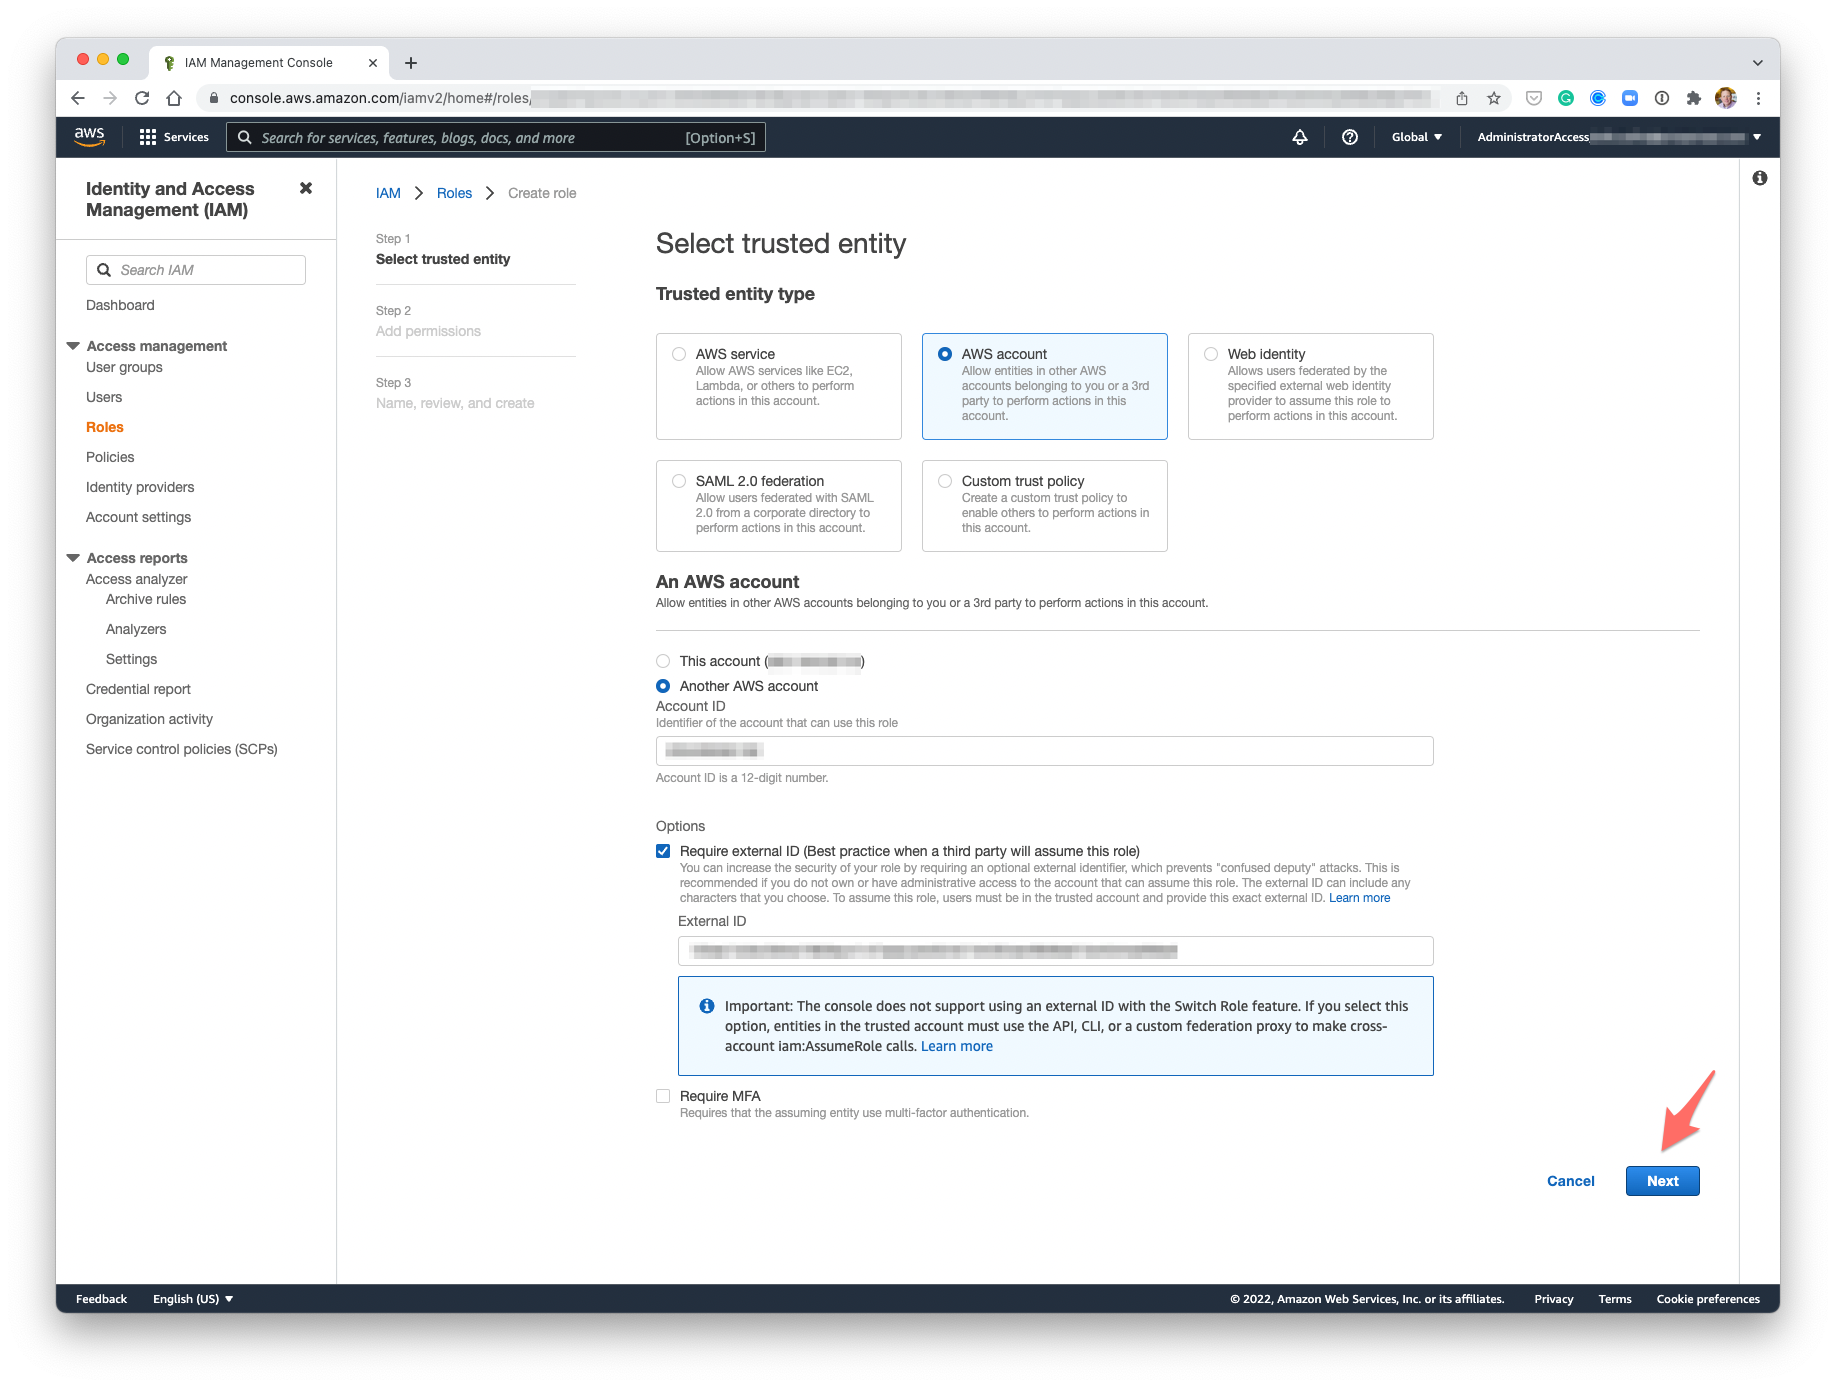
- You will be taken to the Create IAM Role page in the AWS Console with various ProsperOps non-permission role details (e.g. entity type, account ID, external ID) pre-populated. Click Next.
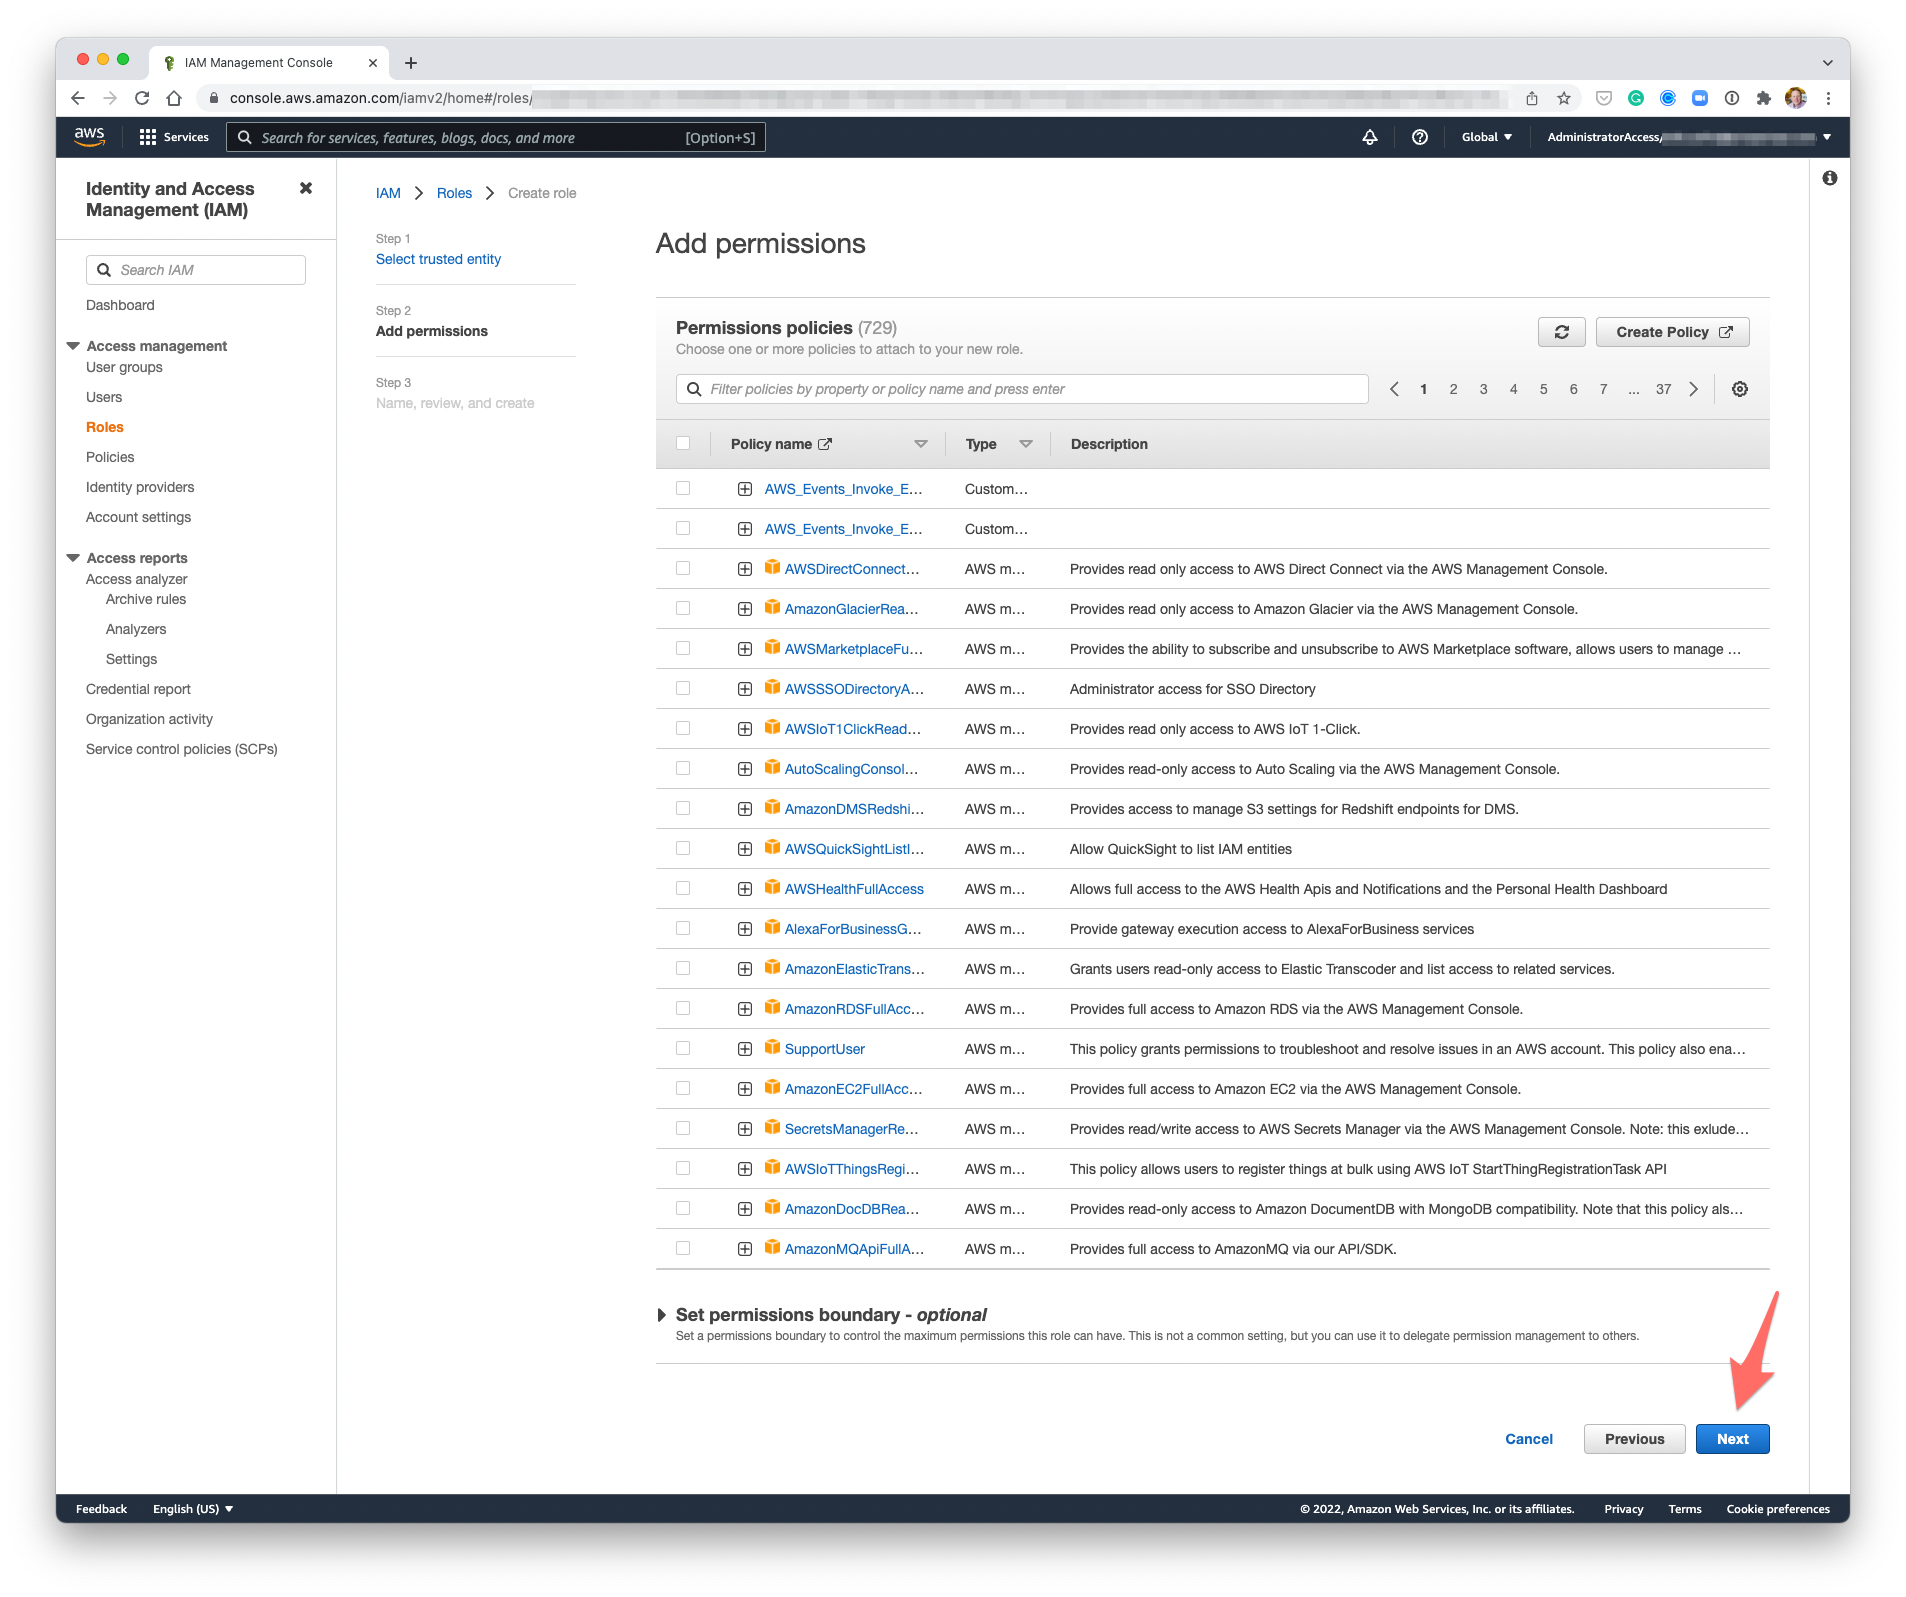
- We're going to add an Inline policy after we create the role, so just click Next.
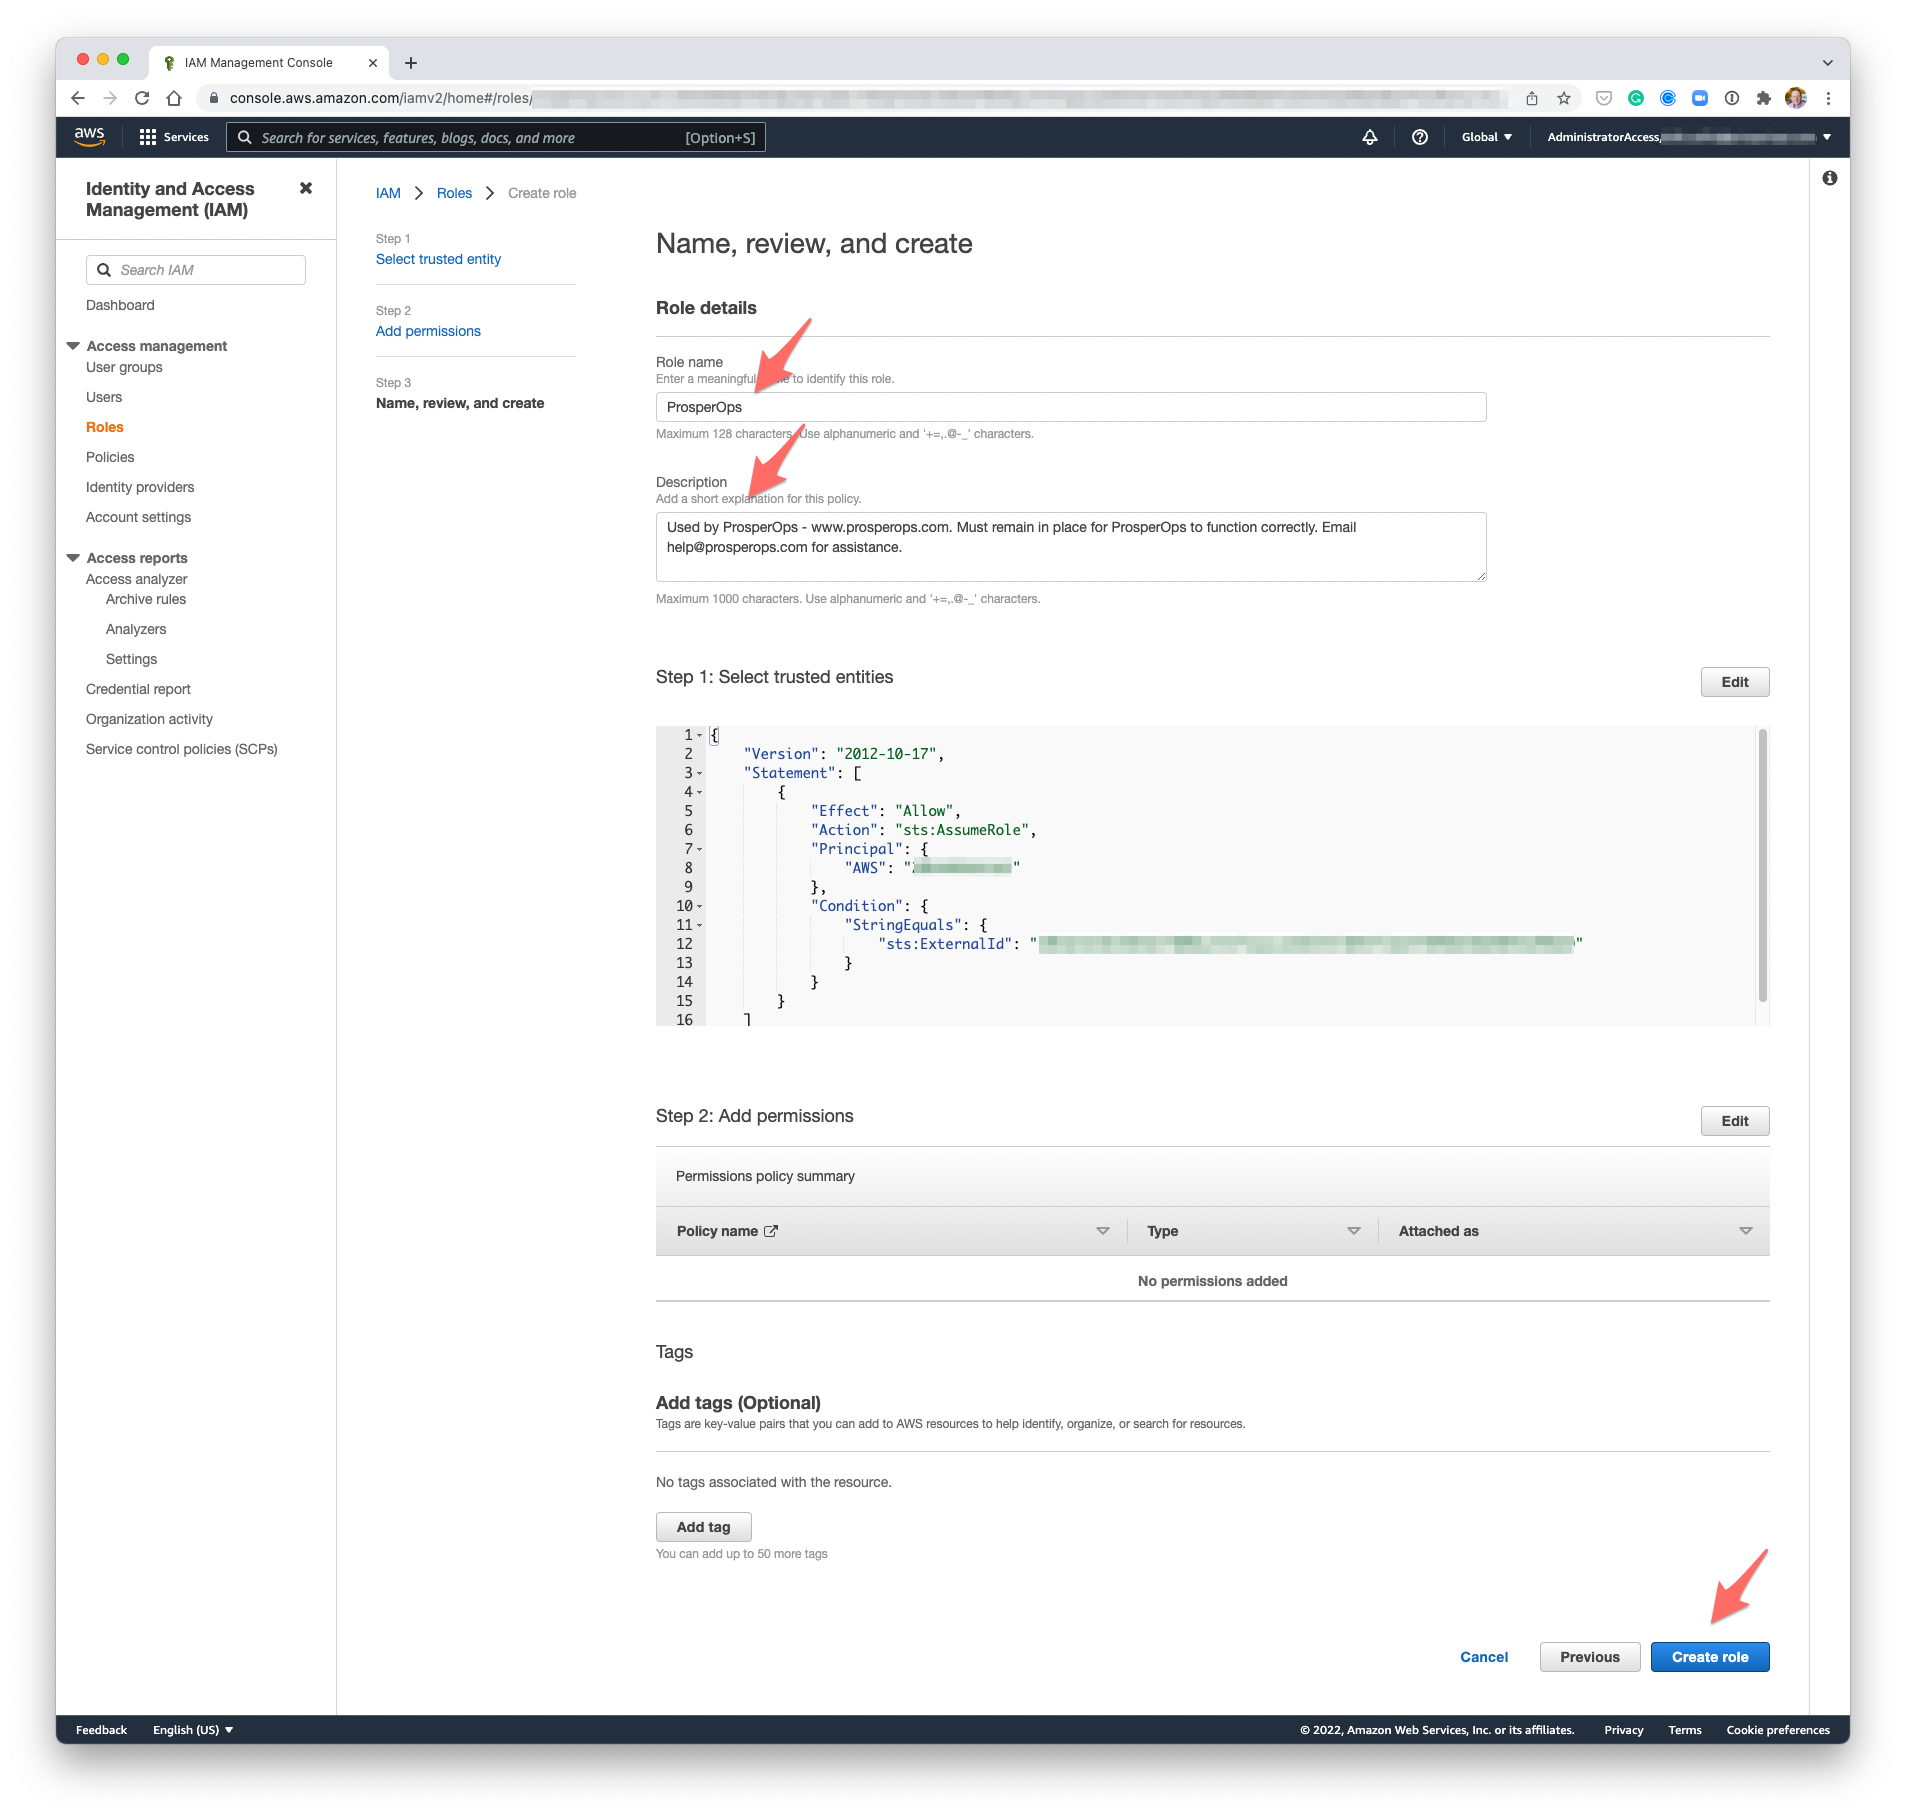
- Enter the following Role name (IAM role names are case sensitive so please enter EXACTLY as shown, ideally just copying the text below 😎 ):
ProsperOps
- Enter the following Role description:
Used by ProsperOps - www.prosperops.com. Must remain in place for ProsperOps to function correctly. Email help@prosperops.com for assistance.
- Click Create role.
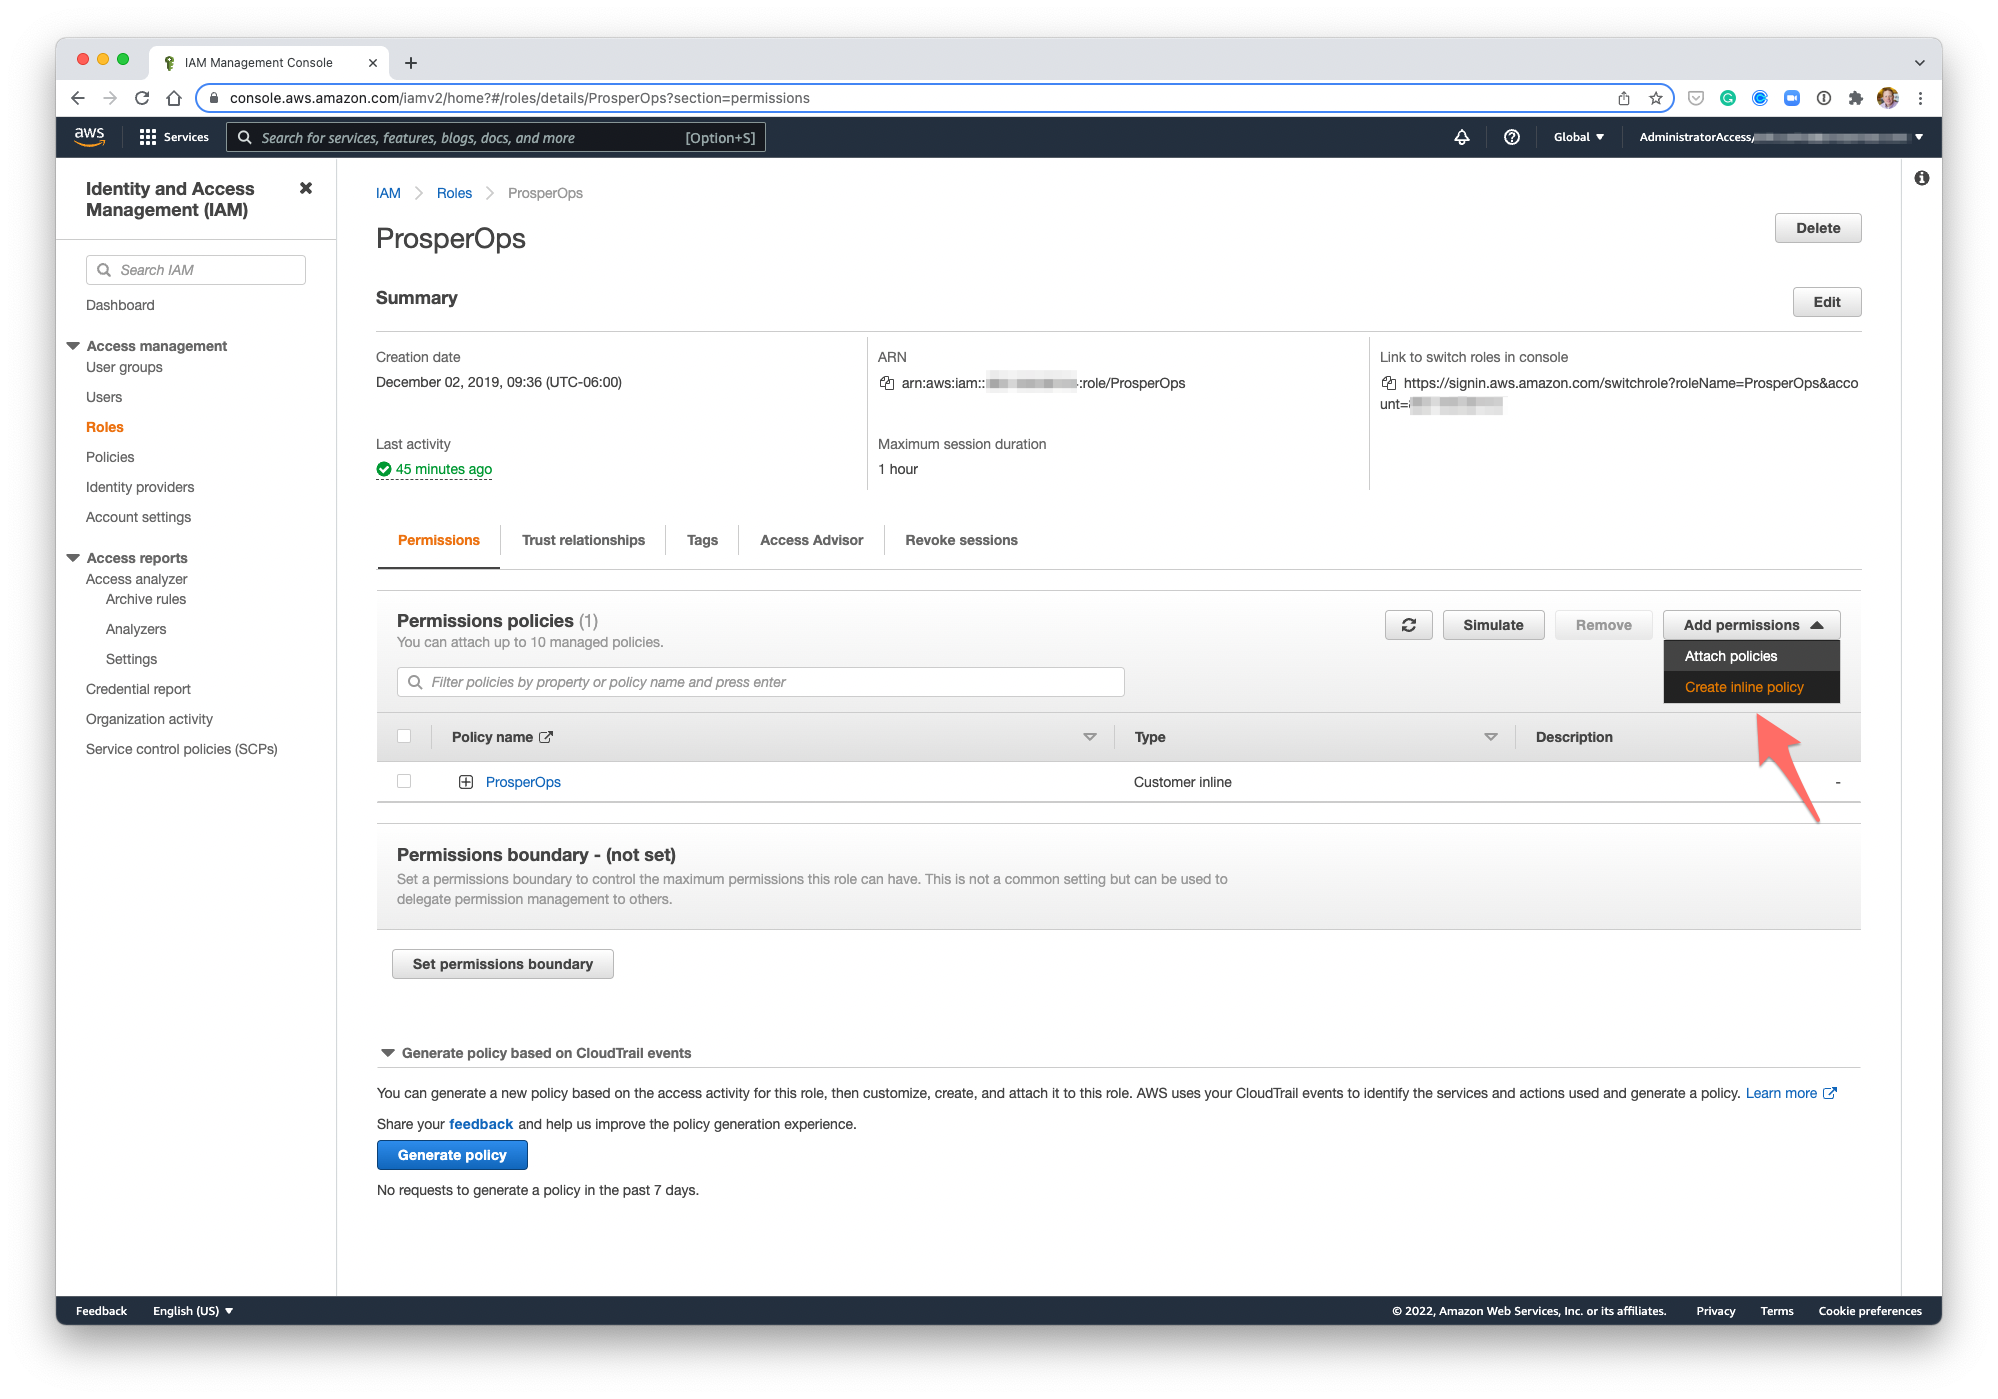
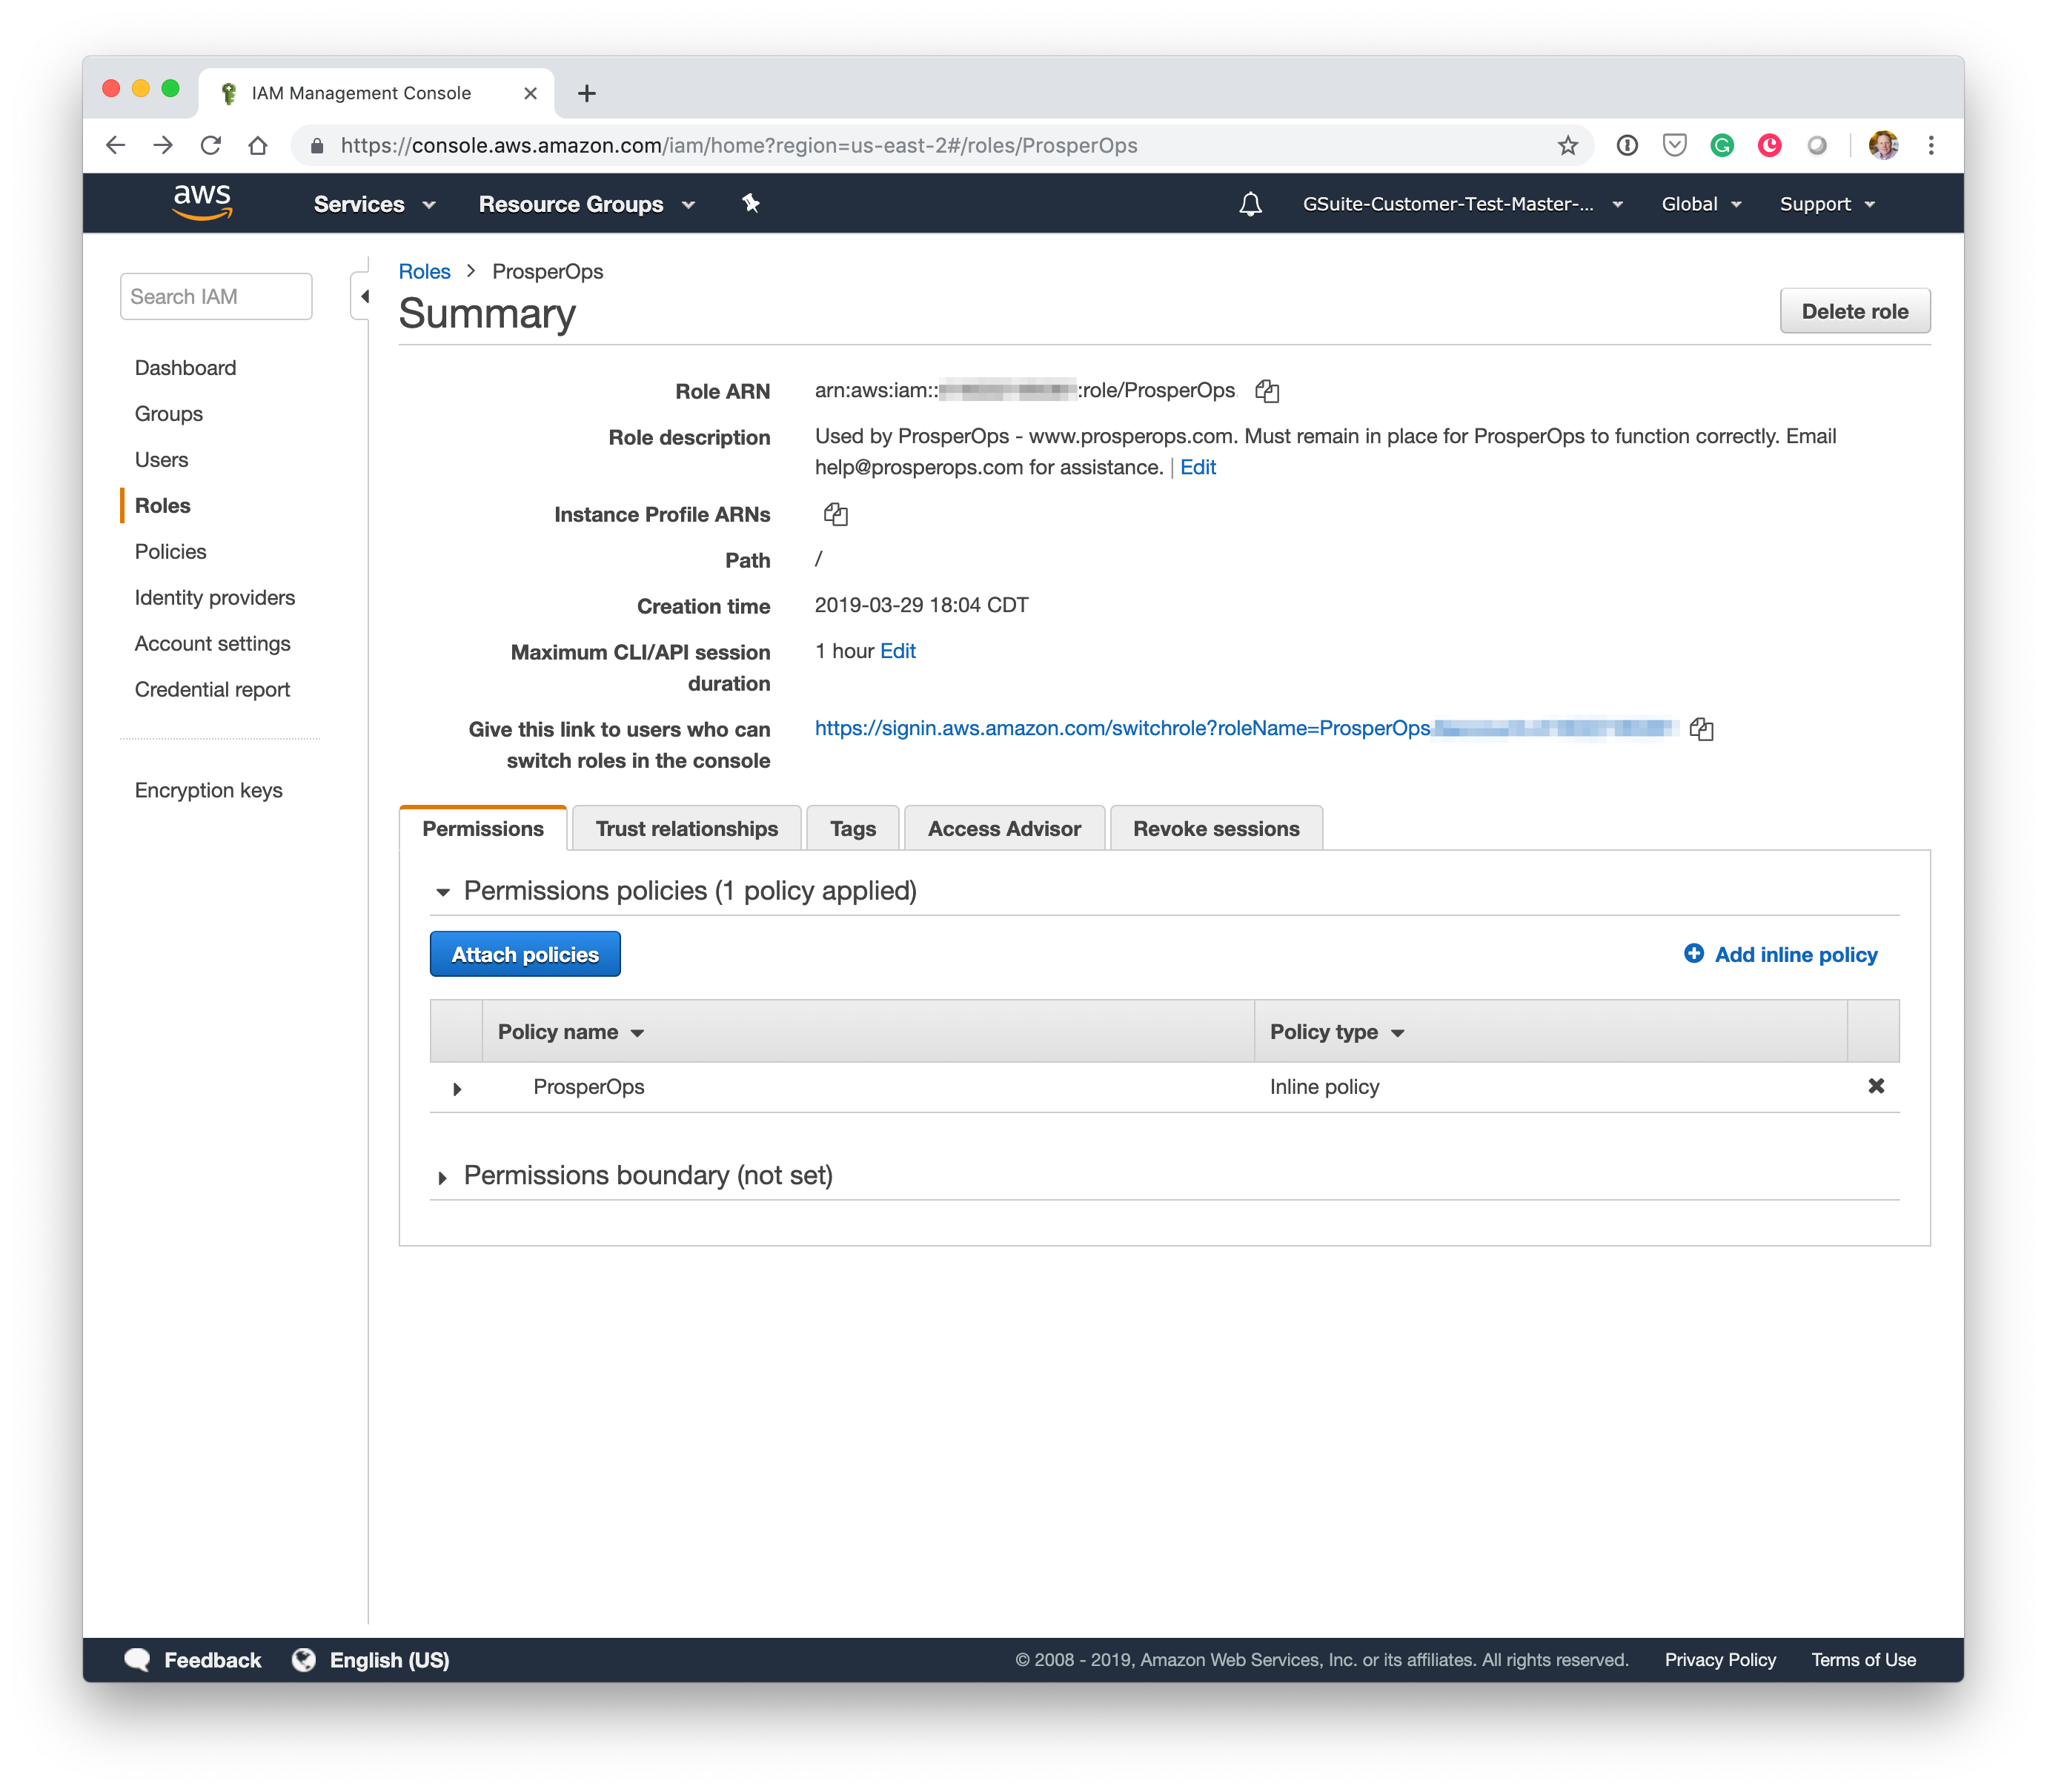
- Click on the newly created ProsperOps role to open the Role Summary screen then click on Create inline policy as shown.
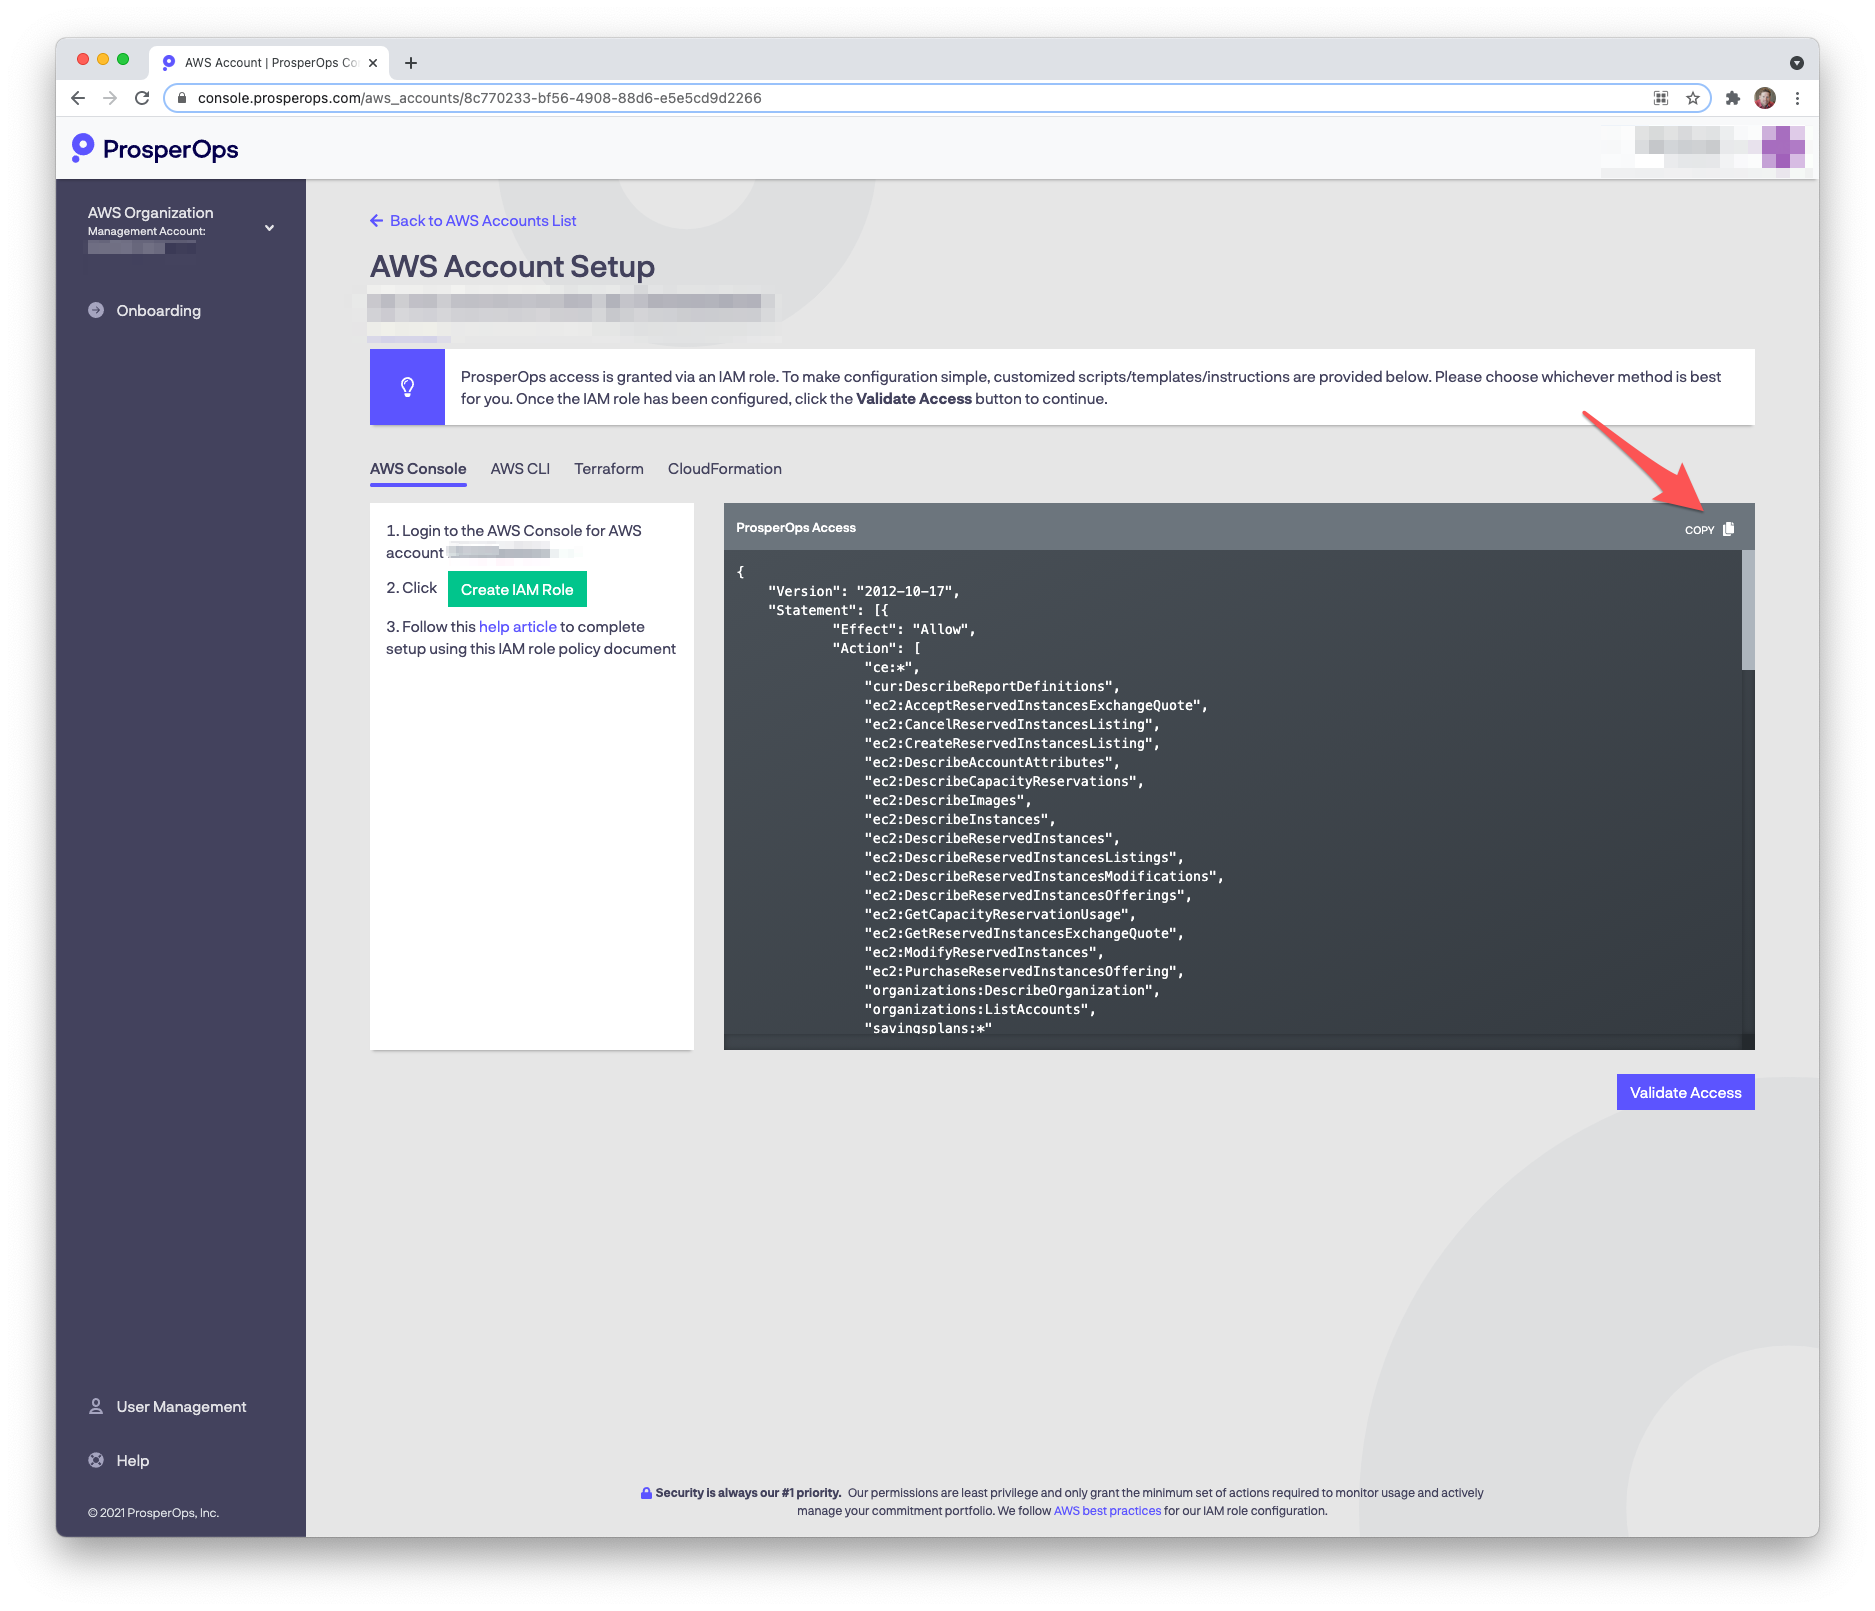
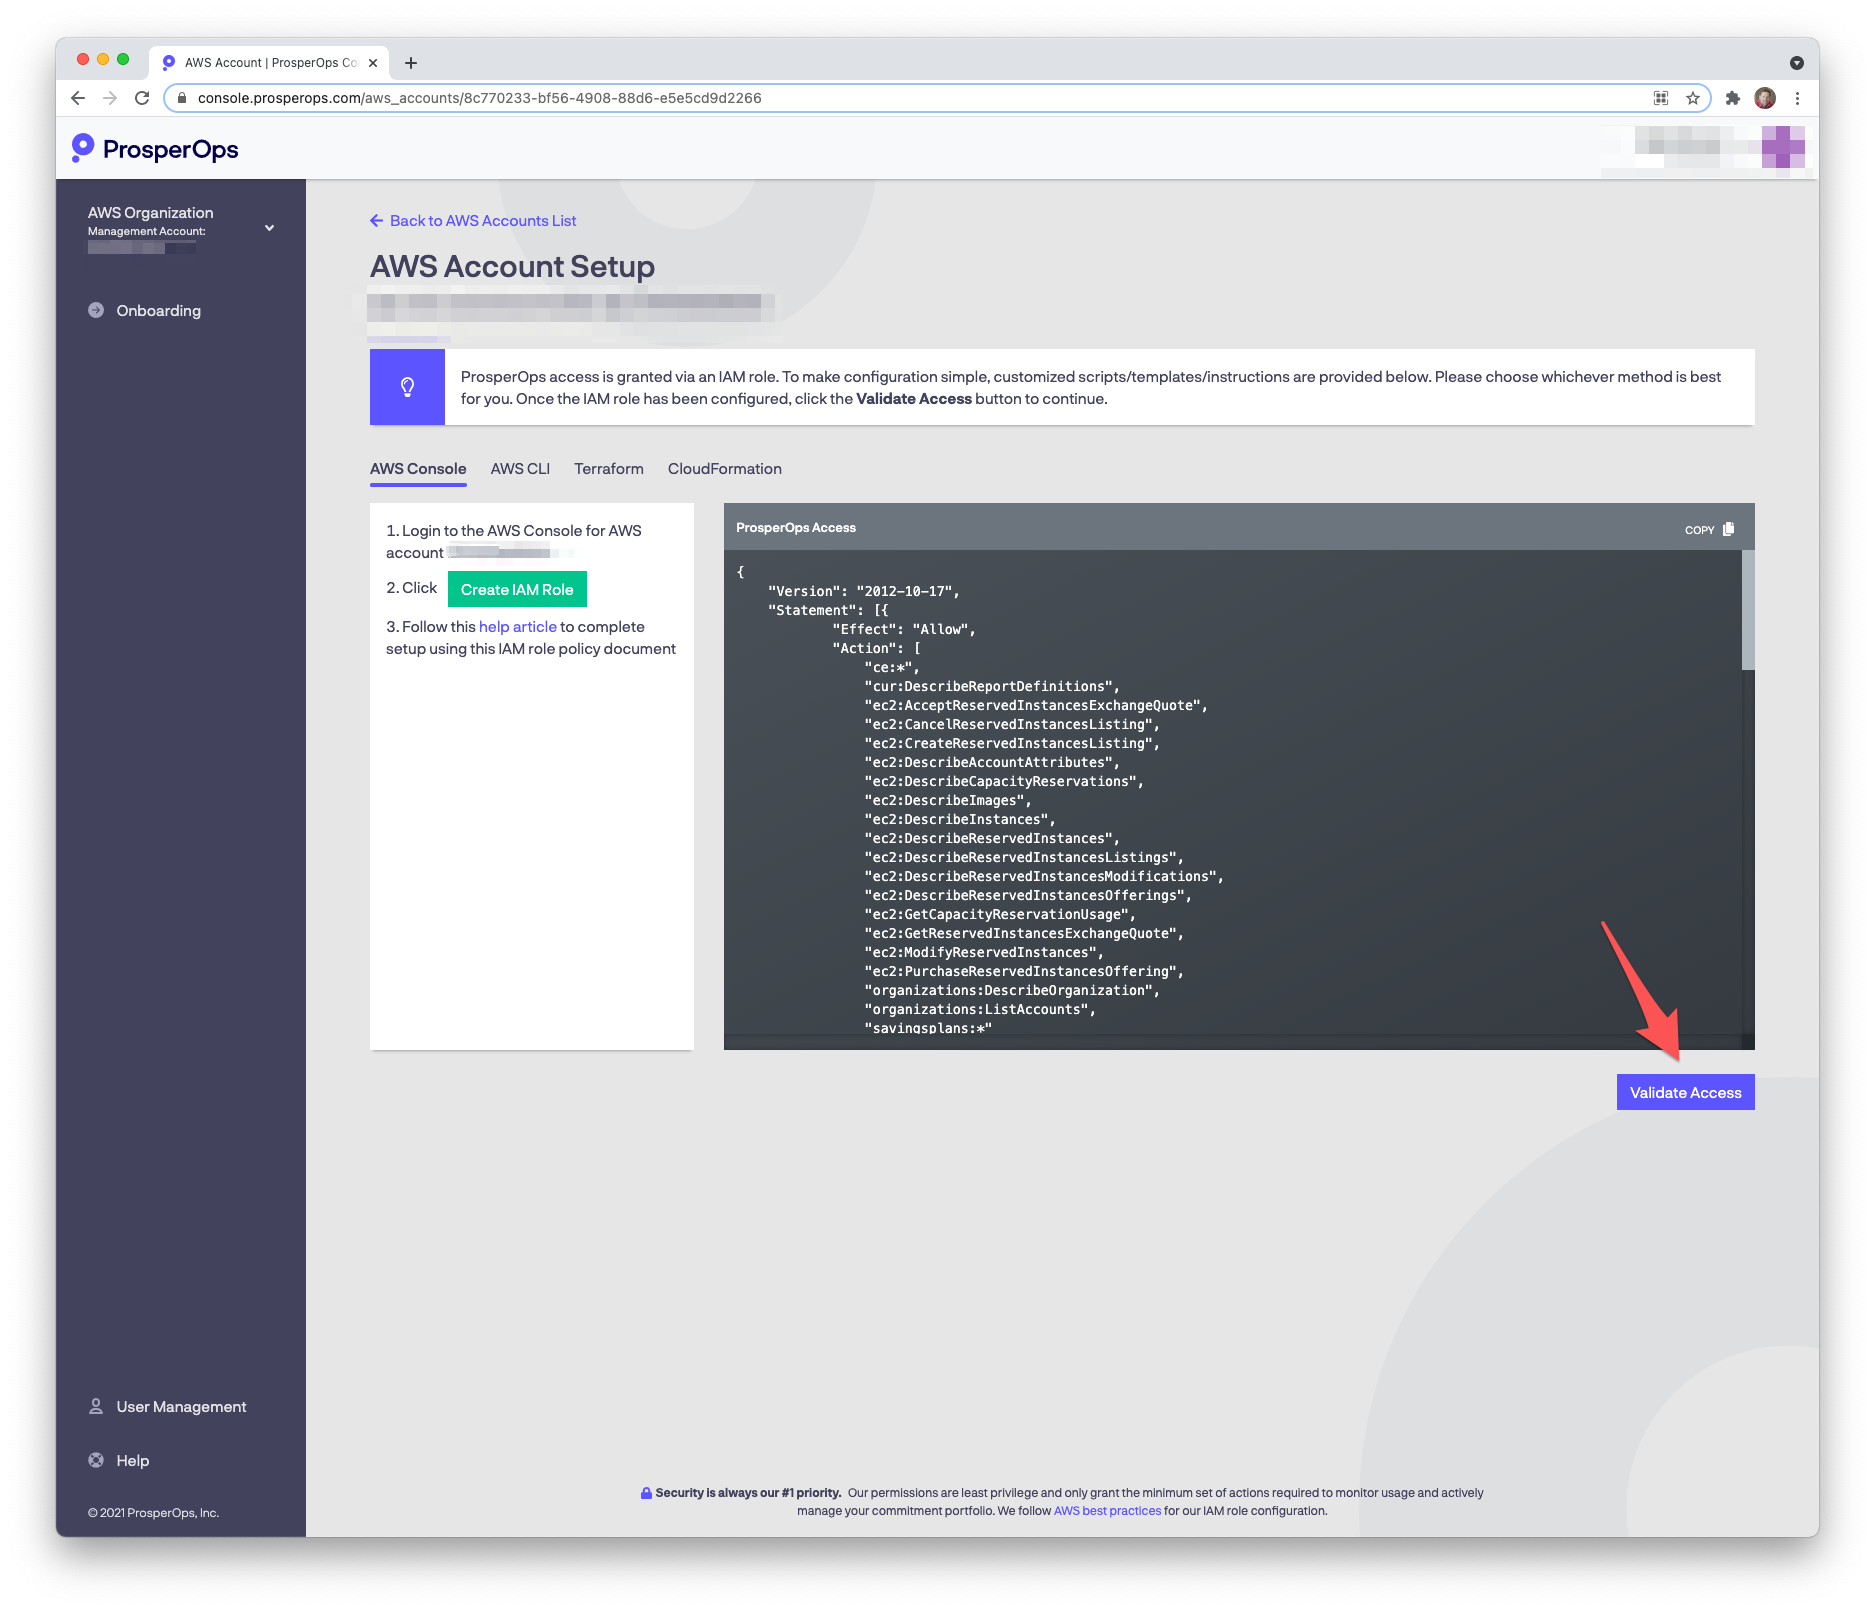
- Return to the ProsperOps Console and click the copy icon in the upper right corner of the policy window to copy the IAM policy to your clipboard.
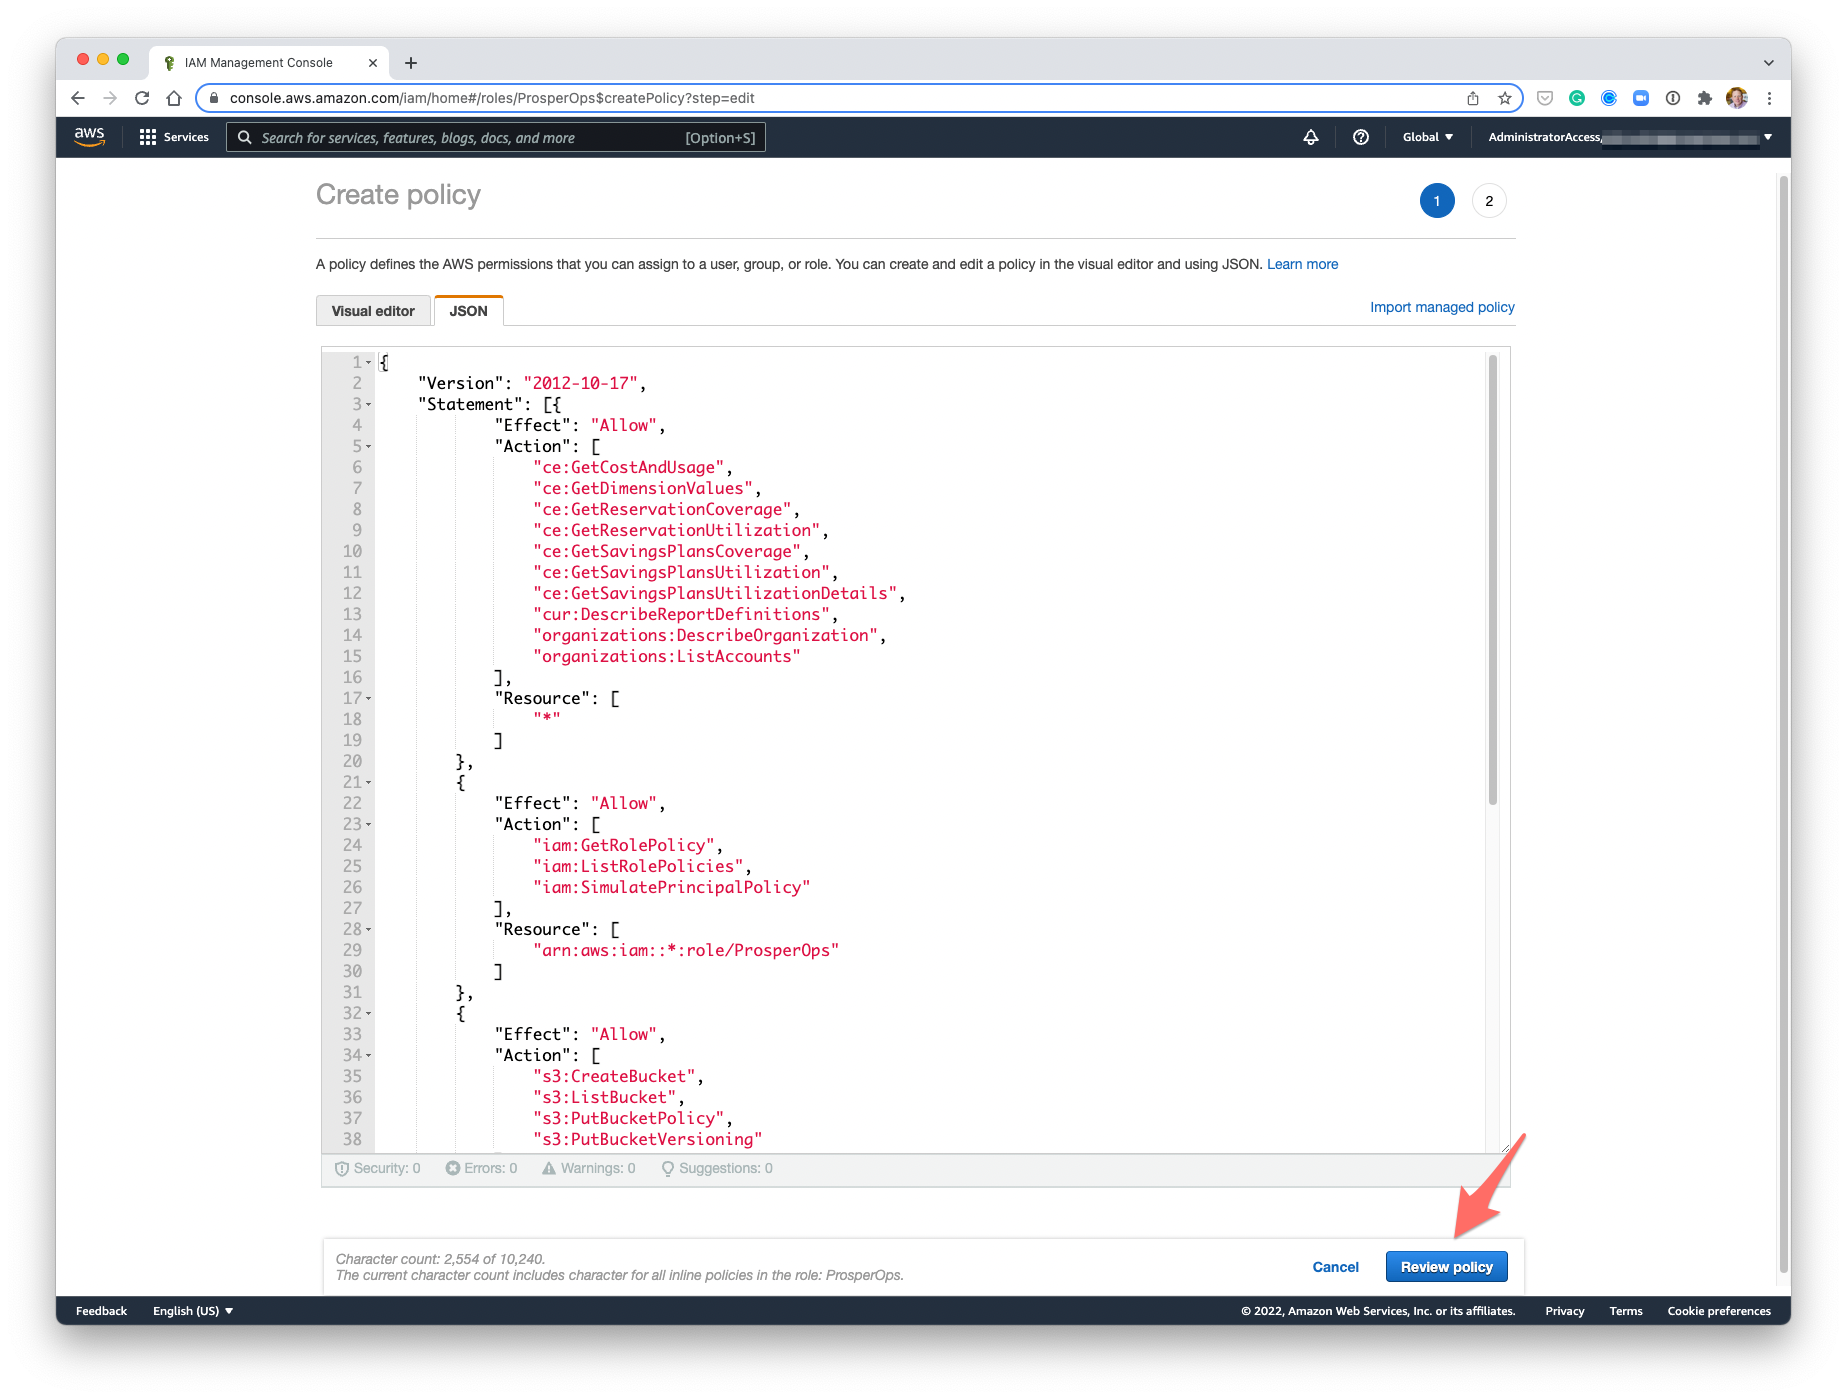
- Return to the AWS Console. Select the JSON tab, paste the IAM policy into the editor, then click Review policy.
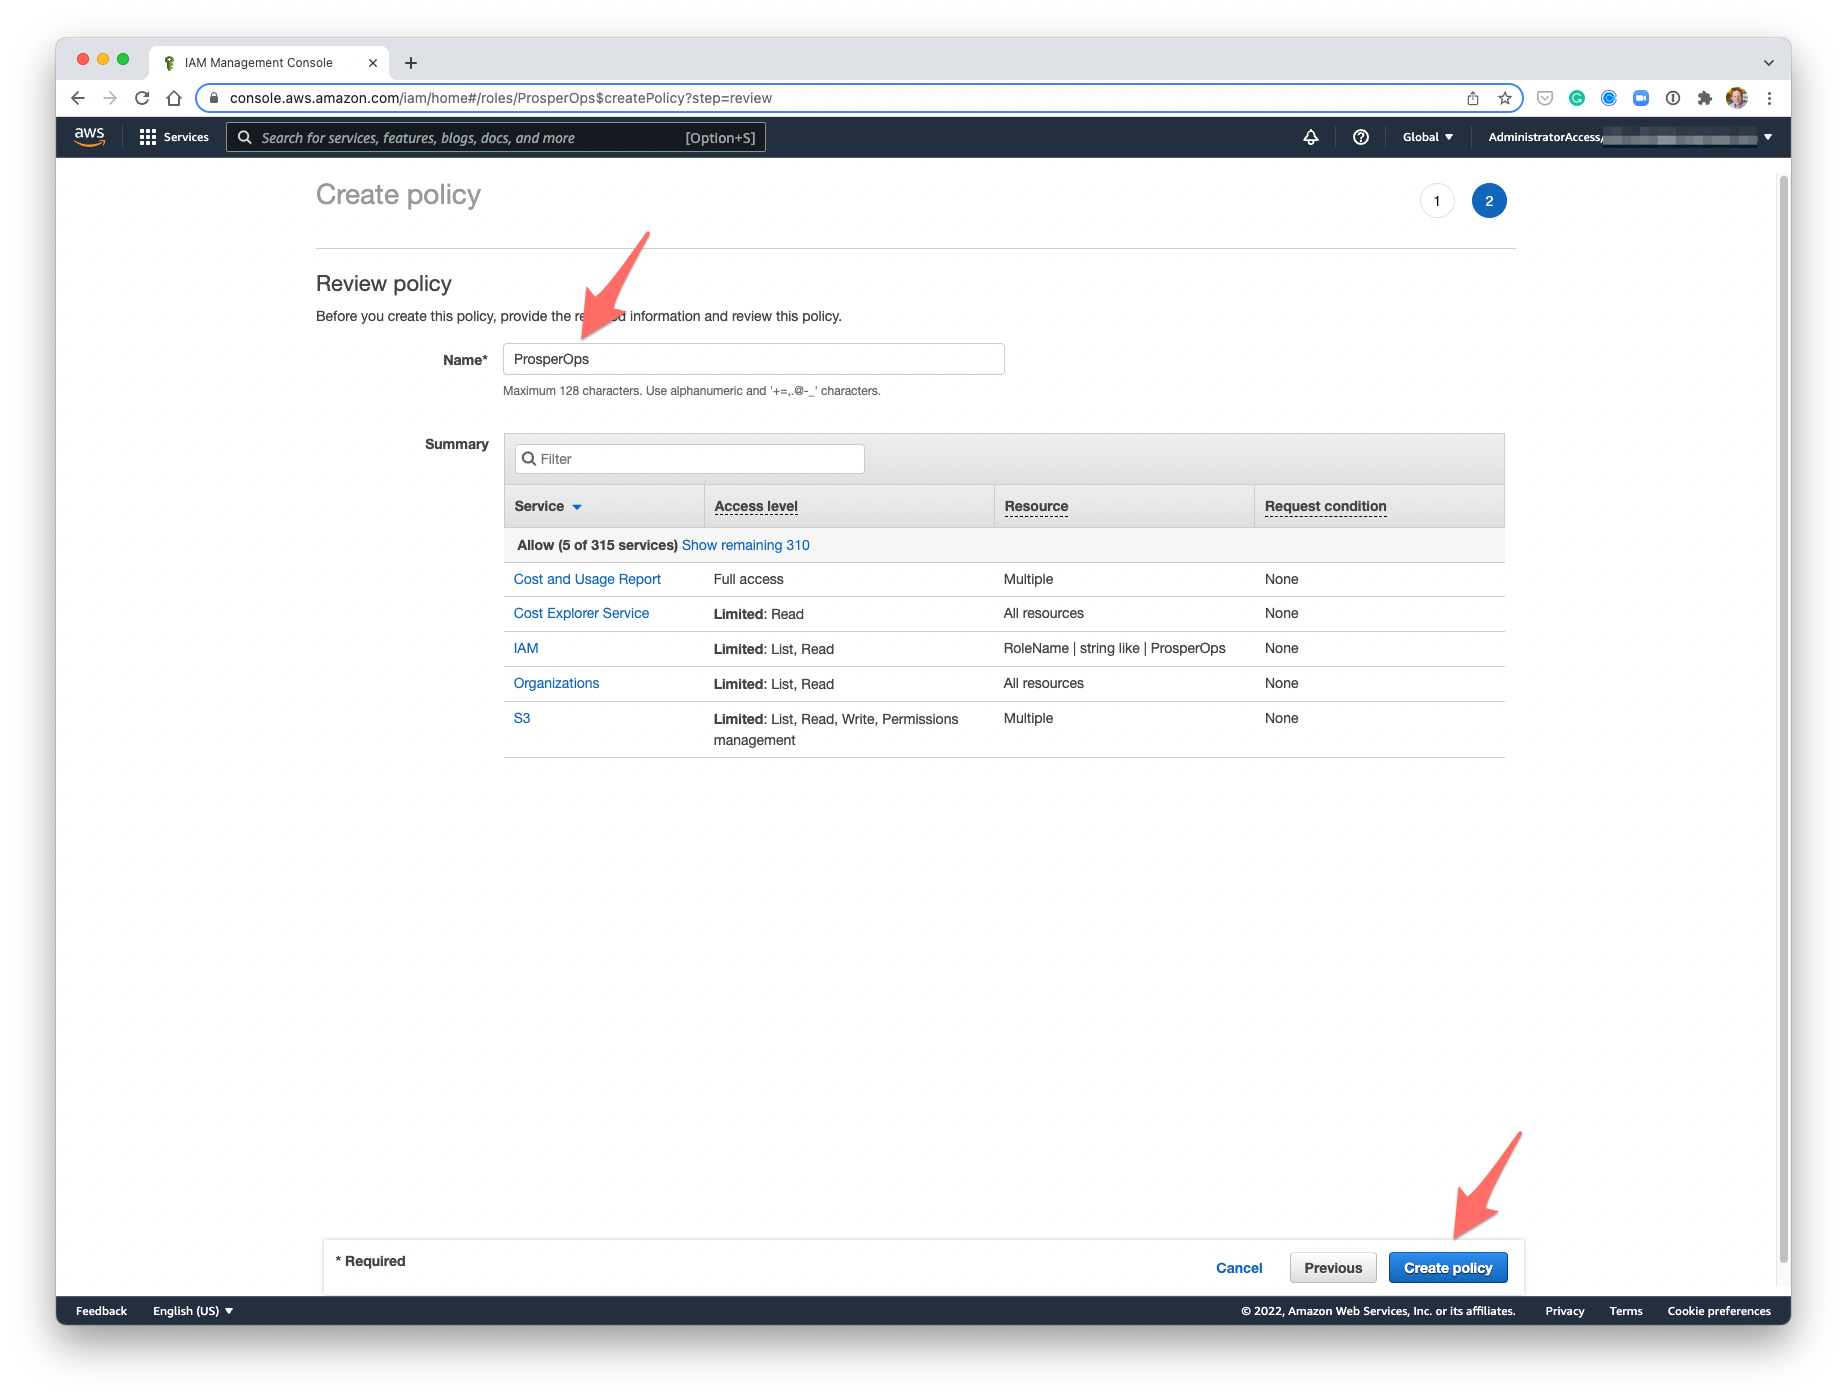
- Enter the following policy Name:
ProsperOps
- Click Create policy.
- A ProsperOps IAM role has now been created with the necessary least privilege policy permissions.
- Return to the ProsperOps Console and click Validate Access.
- Once access is validated, setup for this AWS account is complete! 🎉
- Repeat this process for each Member account in the Organization.
